Are you a Roblox creator balancing a full-time job family and personal life but still crave the satisfaction of bringing your virtual worlds to life with dynamic characters and compelling animations The Roblox Animator plugin is your secret weapon a powerful yet accessible tool that lets you craft intricate movements without demanding endless hours It's about optimizing your creative flow allowing you to produce high-quality animations efficiently and effectively Whether you are a seasoned developer looking to refine your character's walk cycles or a passionate hobbyist just starting out this guide will navigate you through everything you need to know about the Animator plugin From installation and basic controls to advanced techniques for achieving fluid realistic motions we will cover how to maximize your time and output You will discover how this essential tool can transform your Roblox game development making it more enjoyable and productive fitting perfectly into your busy schedule This resource aims to be your comprehensive informational and navigational companion helping you unlock the full potential of Roblox animation and elevate your game's appeal keeping you current with top creator trends without the usual hype Get ready to build unforgettable experiences with smooth animations that truly captivate your players ensuring your creative efforts yield impressive results even when time is a precious commodity
What exactly is the Roblox Animator Plugin and why is it essential for creators?
The Roblox Animator plugin is an official free tool within Roblox Studio designed for creating editing and managing animations for characters and objects in your games. It's essential because it provides a powerful yet accessible interface for bringing static models to life allowing creators to craft expressive movements captivating character actions and dynamic environmental elements crucial for engaging player experiences. For busy creators it streamlines the animation process making high-quality results achievable without specialized external software. It integrates seamlessly into your workflow helping you stand out in Roblox's competitive creation landscape.
How do I install the Roblox Animator plugin in my Studio environment?
Installing the Animator plugin is straightforward. First open Roblox Studio and go to the 'Plugins' tab in the top menu bar. Click on 'Manage Plugins' and then select 'Find Plugins' to open the Roblox Marketplace. Search for 'Animator' or 'Roblox Animator'. Locate the official plugin developed by 'Roblox' and click on it. Then simply click the 'Install' button. After installation it will appear under your 'Plugins' tab ready for use. This quick setup ensures you spend less time configuring and more time animating.
What are the fundamental steps to create a basic animation using the plugin?
To create a basic animation start by selecting a rigged character or model in your workspace. Click the 'Animator' plugin icon. In the new window click 'New' to create a new animation then give it a name. Use the timeline to set keyframes by moving the character's limbs or parts to desired poses at different time points. The 'Add Keyframe' button or simply adjusting parts will record these poses. Play the animation back to review your work. This intuitive process allows for quick iteration and refinement.
How can I ensure my animations are smooth and professional-looking?
Achieving smooth animations requires attention to several details. Utilize the easing styles provided within the Animator plugin to control the acceleration and deceleration between keyframes. Experiment with 'EaseIn' 'EaseOut' and 'Bounce' to add natural flow. Add more keyframes for subtle movements and transitions rather than just two extreme poses. Also pay attention to the timing between keyframes ensuring movements feel natural and not too robotic or abrupt. Practice and observation of real-world movement are key to professional results.
What are common troubleshooting tips for the Animator plugin if it isn't working?
If the Animator plugin isn't behaving as expected first check if your character or model is properly rigged with a Humanoid and Motor6Ds as the plugin relies on these for animation. Ensure the plugin is enabled in the 'Plugins' tab. Try restarting Roblox Studio. Sometimes a fresh start can resolve minor glitches. Verify your internet connection as Studio occasionally needs to fetch resources. If issues persist check the Roblox Developer Forum for known bugs or community solutions as others might have encountered similar problems. Clearing Studio's cache can also sometimes help.
How do I export and integrate my completed animations into my Roblox game?
Once your animation is complete save it within the Animator plugin. Then click 'File' and 'Export' to Roblox. This will upload your animation to your Roblox account and generate an Asset ID. In your game's scripts typically a LocalScript you will load this animation onto an 'Animator' object found within a character's Humanoid. Use 'Humanoid.Animator:LoadAnimation(AnimationTrack)' passing the Asset ID to play your animation programmatically. This process allows you to trigger specific animations based on in-game events or player actions bringing your characters to life dynamically.
What are some advanced features of the Animator plugin that can elevate my game's animations?
Beyond basic keyframing the Animator plugin offers advanced features like Inverse Kinematics IK for more natural limb manipulation especially useful for complex character interactions or procedural animations. You can also work with multiple animation tracks simultaneously layering different movements. Utilize events to trigger sounds or visual effects at specific points in your animation. Understanding the hierarchy of Motor6Ds and using the plugin's pose library feature can significantly speed up your workflow for repetitive actions or stances. Exploring these advanced tools can dramatically enhance the realism and complexity of your game's animated content.
Hey fellow gamers and creators Ever feel like your passion for building amazing Roblox experiences clashes with the demands of adulting Juggling work family and trying to unwind with your favorite games often leaves little time for deep dives into creative projects right Many of us, the average US gamer at around 36 years old, spending upwards of 10 hours a week in virtual worlds, crave that creative outlet but need smart efficient tools. You want to bring your Roblox characters to life with fluid realistic movements, but the thought of complex animation software or endless tutorials can feel overwhelming. What if there was a way to craft stunning animations that elevate your game without sacrificing your precious free time The Roblox Animator plugin is exactly that a powerful yet accessible solution designed to empower creators like you to produce high-quality character and object animations directly within Roblox Studio. It’s an official tool, completely free, and built to streamline your workflow so you can focus on creativity not frustration. This guide will walk you through everything from installation to advanced techniques ensuring you can create captivating animations that make your game stand out, all while respecting your busy schedule. Let's make your Roblox creations truly move.
US gamers today, a significant 87% playing regularly, are increasingly looking for ways to blend their love for gaming with their real-world responsibilities. This often means optimizing every aspect of their gaming and creation process for maximum impact with minimal fuss. The Roblox Animator plugin fits perfectly into this philosophy offering robust features that are surprisingly user-friendly. Whether you're aiming for expressive character dialogues, dynamic enemy movements, or interactive environmental elements, mastering this plugin is a game-changer for enhancing player engagement. We'll explore how to navigate its interface understand keyframing principles and implement advanced techniques that professional developers use. Get ready to transform your static models into living breathing parts of your Roblox universe efficiently and effectively. This comprehensive resource is built to provide practical, problem-solving advice, just like a trusted friend sharing their best gaming tips.
What is the Roblox Animator Plugin and Why Do You Need It
The Roblox Animator plugin is an official, free tool developed by Roblox Corporation, integrated directly into Roblox Studio. It provides a robust environment for creating, editing, and managing animations for characters, props, and any rigged model within your game. Think of it as your virtual puppeteer allowing you to dictate every movement and pose of your in-game assets. For any creator, especially those balancing life's demands, this plugin is indispensable. It eliminates the need for expensive or complex external animation software, offering a streamlined, intuitive workflow directly where you build your games. This means less time context-switching and more time bringing your creative visions to life with smooth, engaging movements.
You need the Animator plugin because high-quality animations are crucial for an immersive and professional-looking Roblox game. They convey emotion, provide clear feedback to players, and simply make your experiences more enjoyable. With mobile gaming dominating a large segment of the market and social gaming trends on the rise, visually appealing and responsive characters are key to attracting and retaining players. This plugin empowers you to craft those essential elements, making your game stand out in the vast Roblox ecosystem. It’s a vital tool for skill-building, performance optimization, and staying current with platform trends without succumbing to hype, all while offering immense value for your creative efforts.
How Do I Install and Set Up the Roblox Animator Plugin
Installing the Roblox Animator plugin is a quick and straightforward process. First, open Roblox Studio. Navigate to the 'Plugins' tab located in the top menu bar. From there, click on 'Manage Plugins' and then select 'Find Plugins' to open the Roblox Marketplace within Studio. In the search bar, type 'Animator' or 'Roblox Animator'. You'll want to find the official plugin developed by 'Roblox'. Once you locate it, click on its listing and then simply click the 'Install' button. The plugin will download and install automatically.
After installation, the Animator plugin will appear under your 'Plugins' tab in Roblox Studio. You don't typically need any further setup beyond enabling it, which usually happens by default upon installation. To use it, simply select a rigged model or character in your workspace, then click the Animator plugin icon in your Plugins tab. A new window will pop up, presenting the animation interface ready for you to start creating. This hassle-free setup ensures you can jump directly into animating your creations with minimal delay, a huge benefit for busy creators.
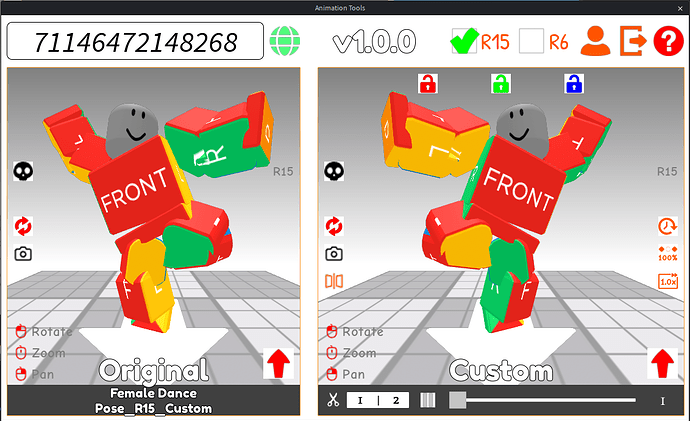
What are the Basic Controls and Interface of the Animator Plugin
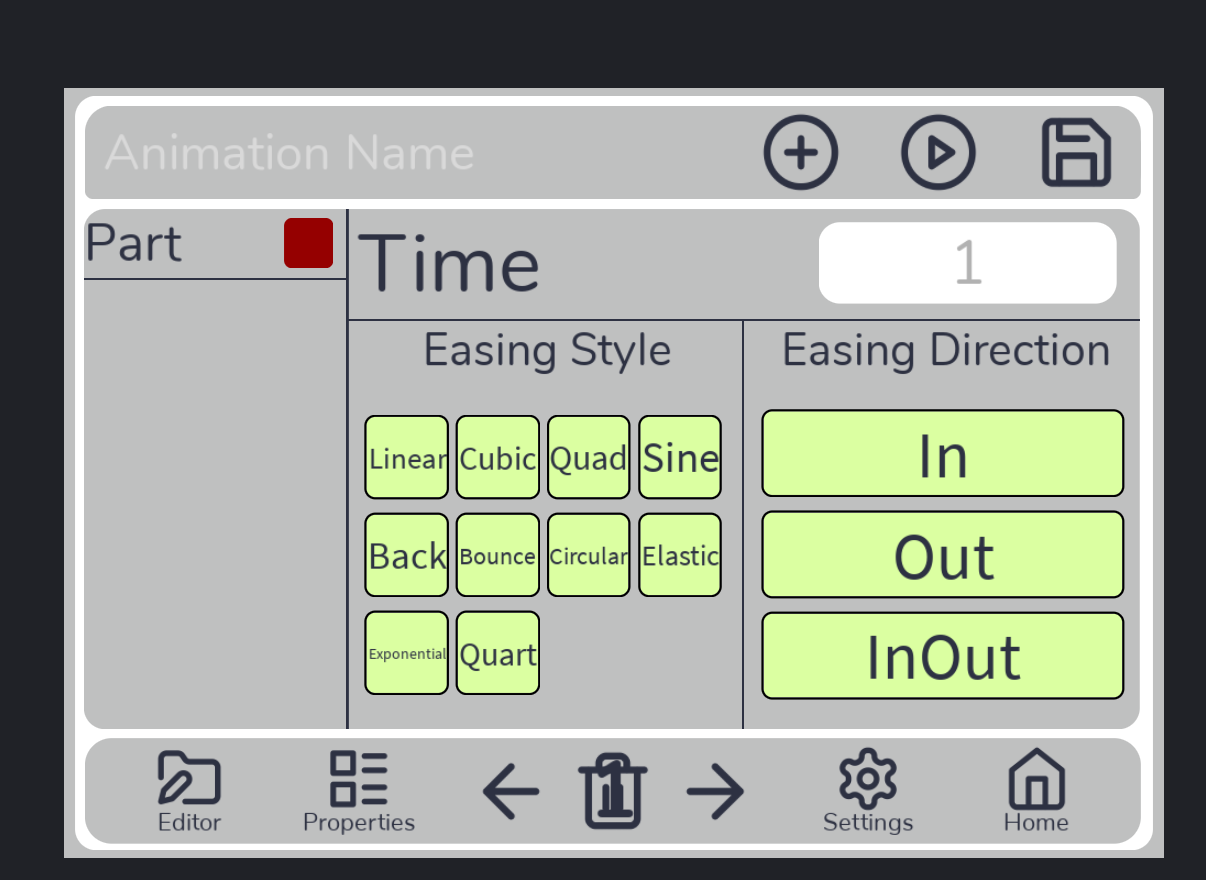
The Animator plugin's interface is designed to be user-friendly, even for beginners. When you open it, you'll see a few key areas. At the top, there's a menu bar with options like 'File' (for New, Open, Save, Export) and 'Edit' (for Undo, Redo). Below that is the 'Animation List' or 'Dope Sheet', which shows all the animations associated with your selected model. The main area is the 'Timeline', a horizontal bar representing the duration of your animation. Along the timeline, you'll place 'Keyframes', which mark specific poses at different points in time.
On the left side, you'll find the 'Explorer' pane, listing all the parts of your selected model that can be animated. You can select specific joints or parts here to manipulate them. The 'Properties' pane, usually at the bottom, allows you to adjust numerical values for position, rotation, and scale if needed. The playback controls (play, pause, stop, loop) are intuitively placed, often near the timeline. Manipulating parts is done directly in the 3D viewport using Roblox Studio's standard move, rotate, and scale tools. Simply move a limb to a desired position, and a keyframe will often be automatically added to the current timeline marker. Understanding these core elements is the first step to confidently bringing your creations to life.
How Can I Create My First Animation Step-by-Step
Creating your first animation with the Roblox Animator plugin is an exciting journey. Here's a step-by-step guide to get you started:
Prepare Your Model: Ensure you have a properly rigged R6 or R15 character, or a custom model with a Humanoid and Motor6Ds, in your Roblox Studio workspace. Select it.
Open the Plugin: Go to the 'Plugins' tab and click the 'Animator' icon.
Create New Animation: In the Animator window, click the 'New' button (often represented by a plus icon or 'File' > 'New'). Give your animation a descriptive name, like
Roblox Animator plugin, Animation creation, Character rigging, Keyframing, Timeline editing, Ease of use, Time-saving, Improving game quality, Dynamic character movements, Roblox game development, Animation workflow optimization, Official Roblox tool, Free animation software
35#1 Gallery animator plugin roblox
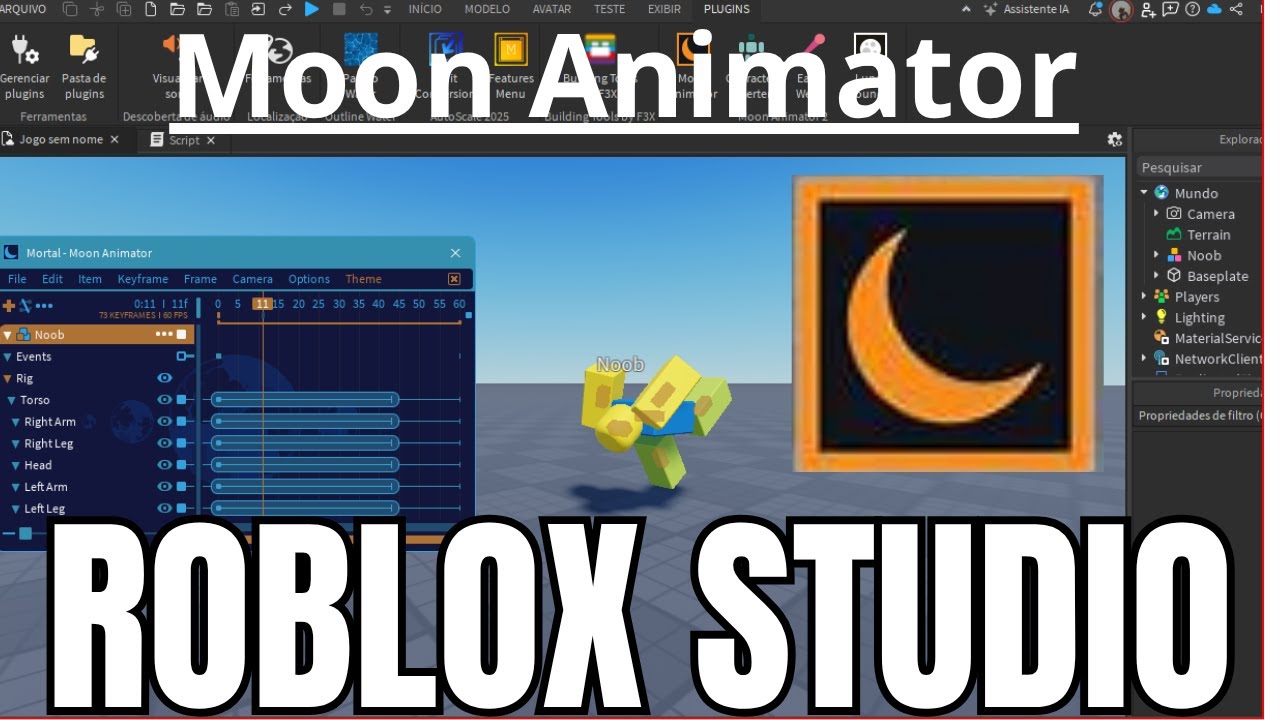

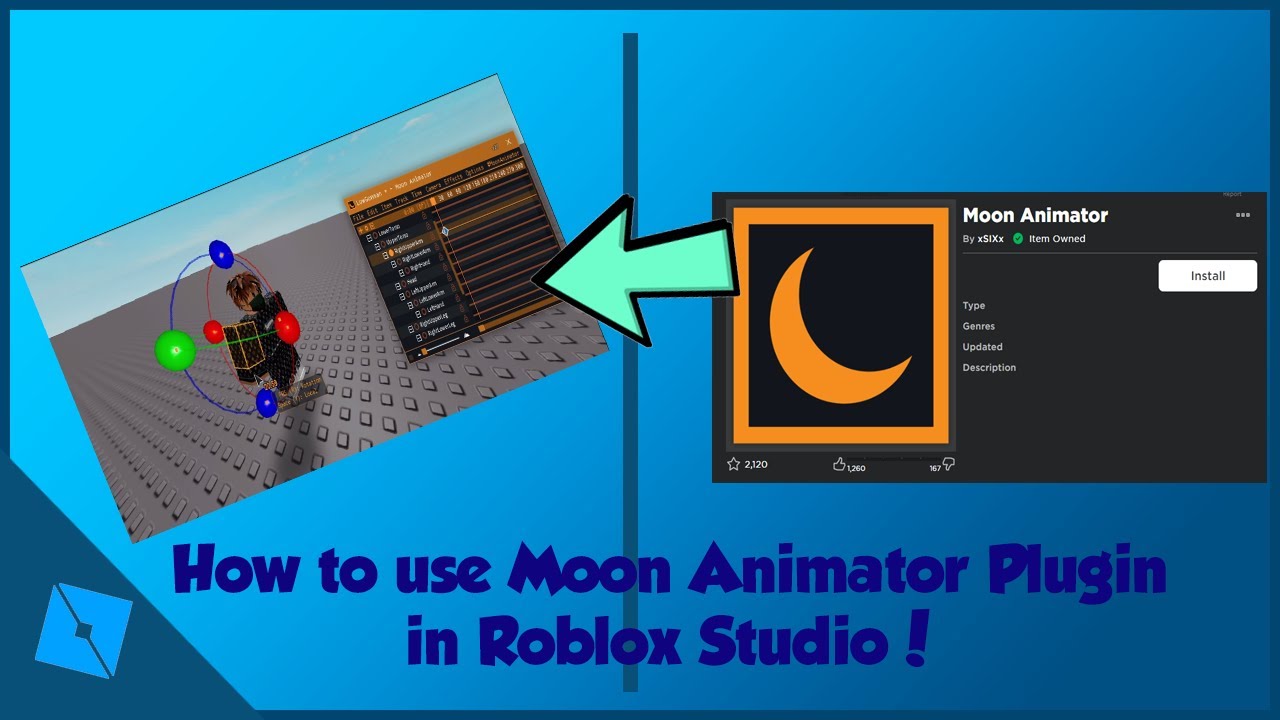

Unlocking Roblox Animation Power With Moon Animator Up To Date 2026 . ROBLOX STUDIO Moon Animator Como Mexer No Plugin YouTube . Unlocking Roblox Animation Power With Moon Animator Up To Date 2026 . Roblox Animation Using Moon Animator Plugin YouTube . How To Create Tools And Animate Them TUTORIAL Community Tutorials
#2 Gallery animator plugin roblox


Unlocking Roblox Animation Power With Moon Animator Up To Date 2026 . Unlocking Roblox Animation Power With Moon Animator Up To Date 2026 . How To Make Animations In Roblox Studio For Beginners A Quick User 282 Cover. How To Set Up Animations Tutorial Roblox Studio Animation Spoofer . Roblox Studio How To Animate A Dummy Rig Character Using The Built In
#3 Gallery animator plugin roblox
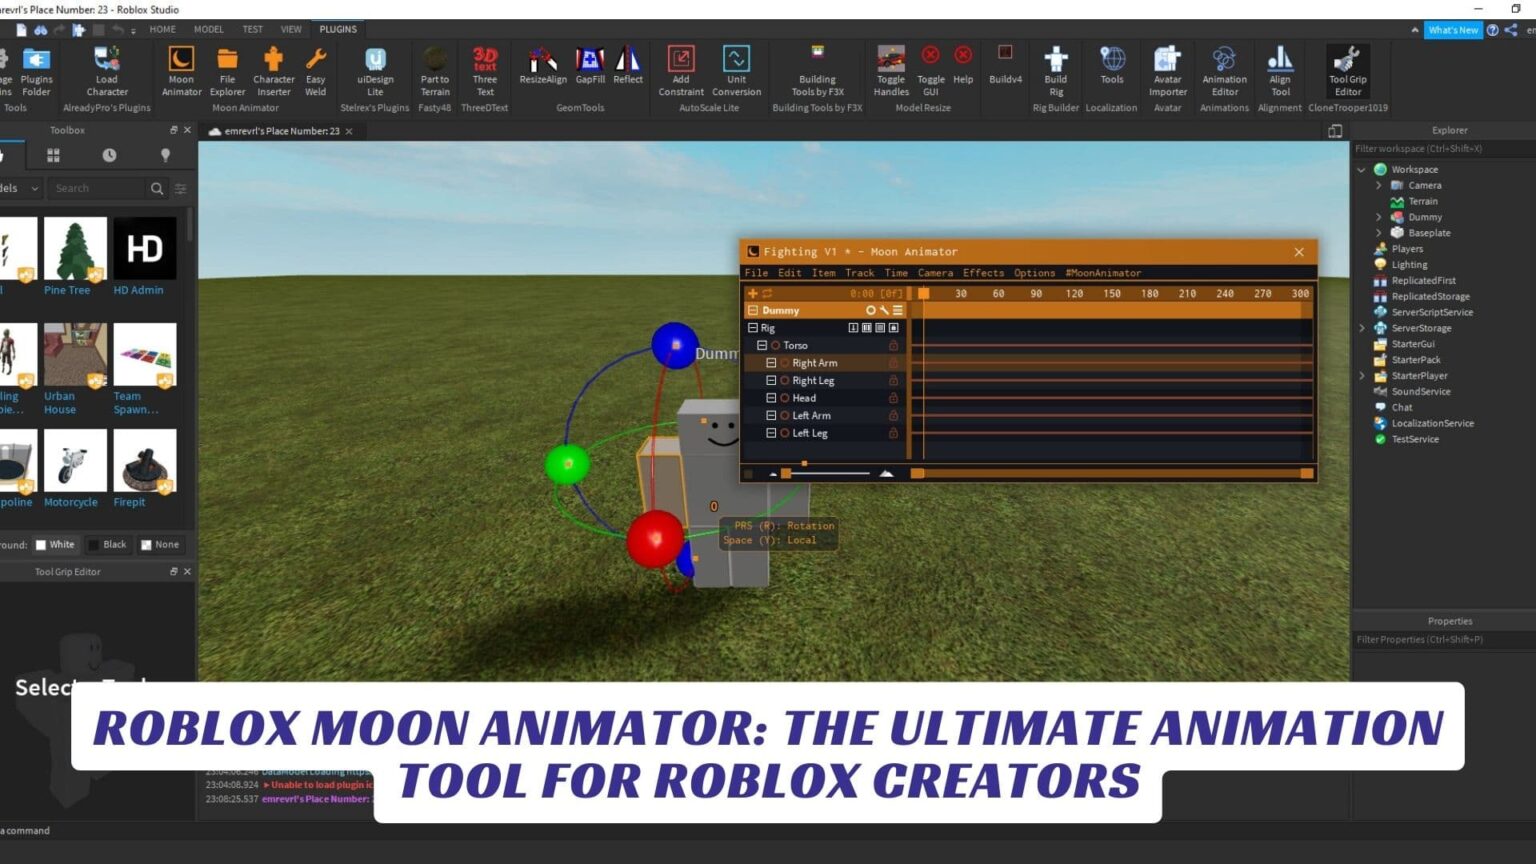


Updated Tutorial In Desc How To Use The Animation Spoofer Plugin . Roblox Moon Animator The Ultimate Animation Tool For Roblox Creators Roblox Moon Animator The Ultimate Animation Tool For Roblox Creators 1536x864 . Unlocking Roblox Animation Power With Moon Animator Up To Date 2026 . Cannot Update Moon Animator To Moon Animator 2 Platform Usage Support 2 1024x695 . Animate Your Roblox Avatar In Blender
#4 Gallery animator plugin roblox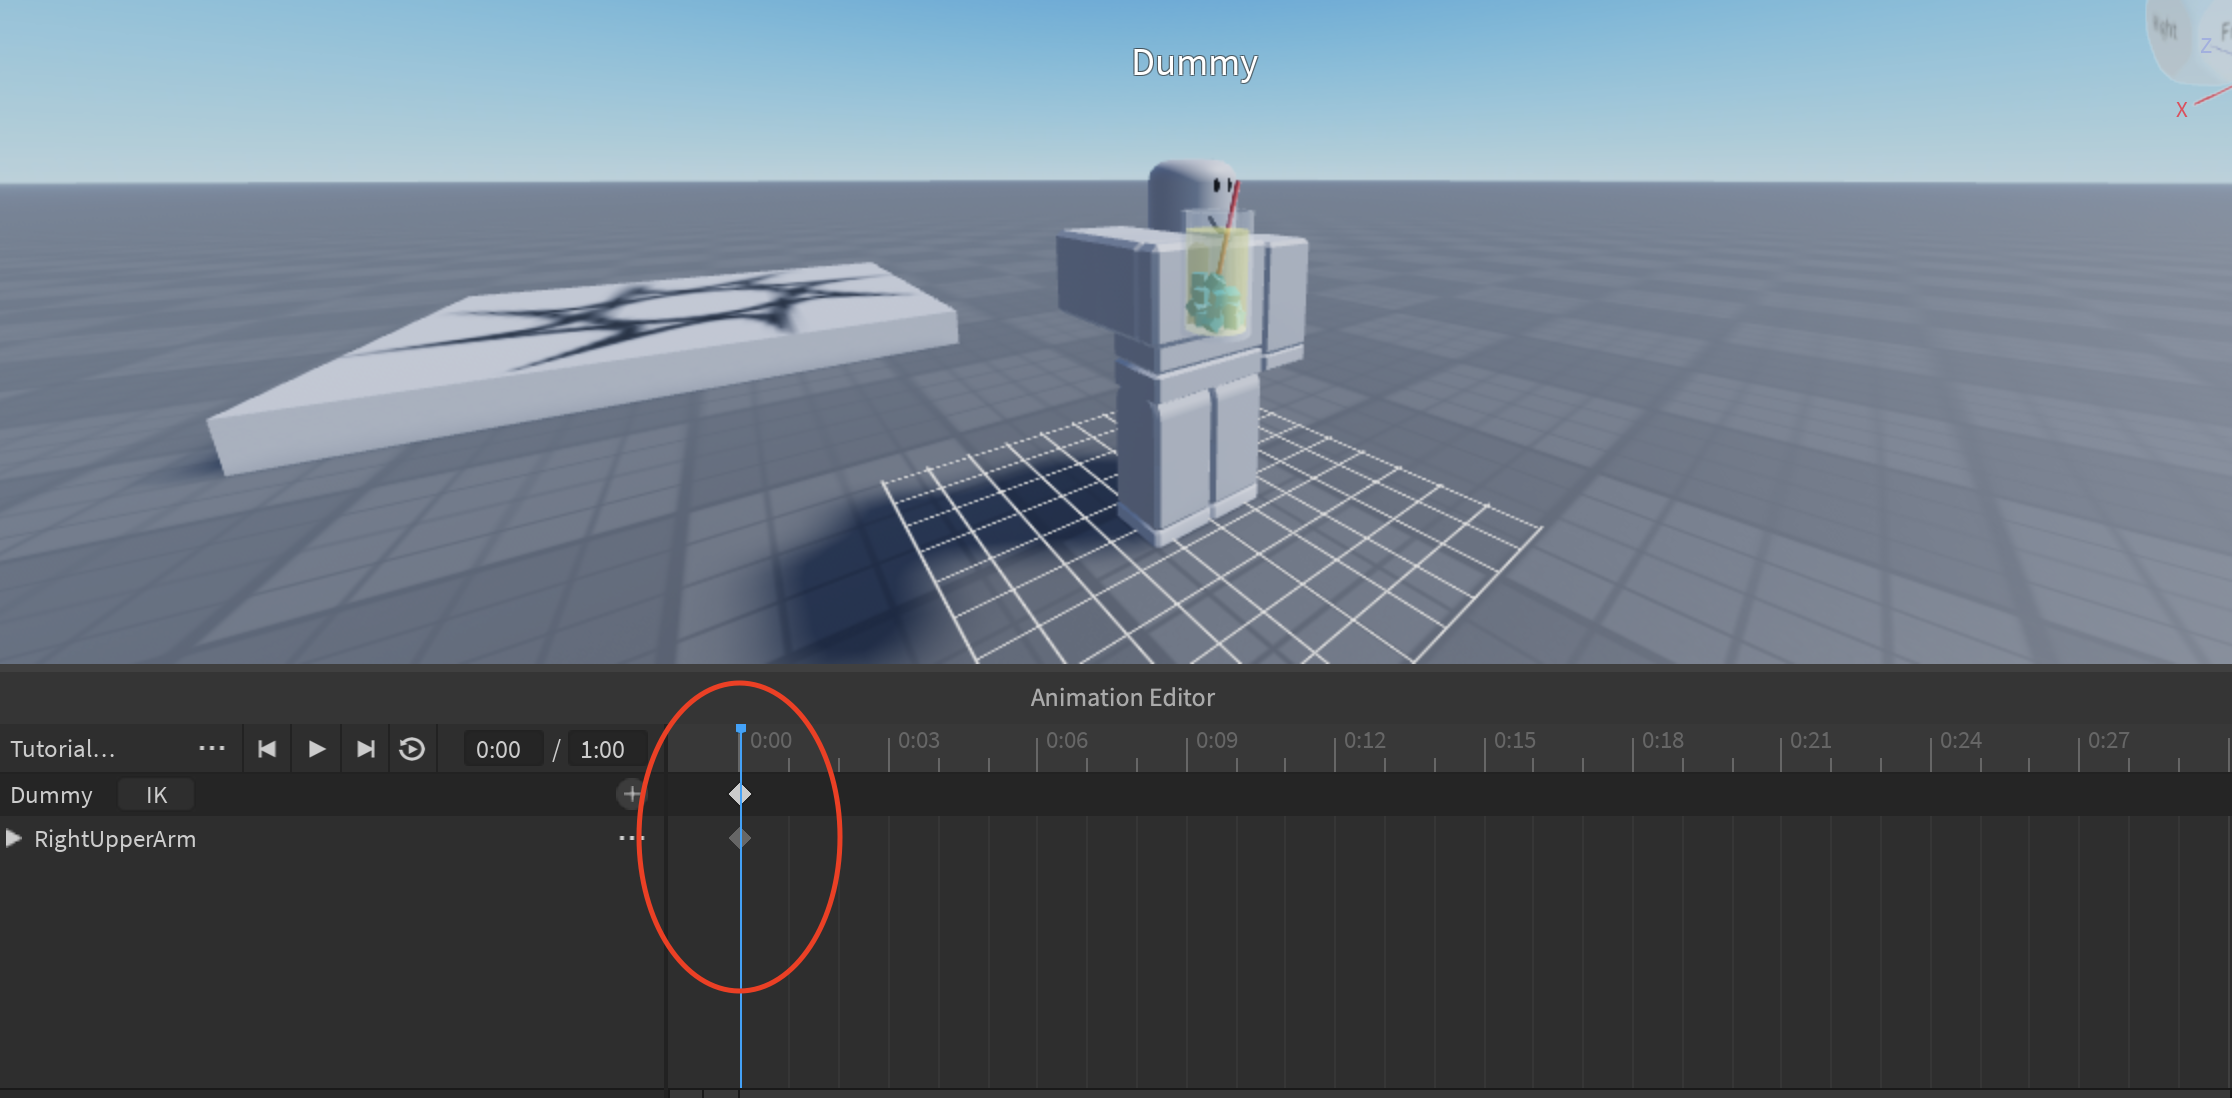


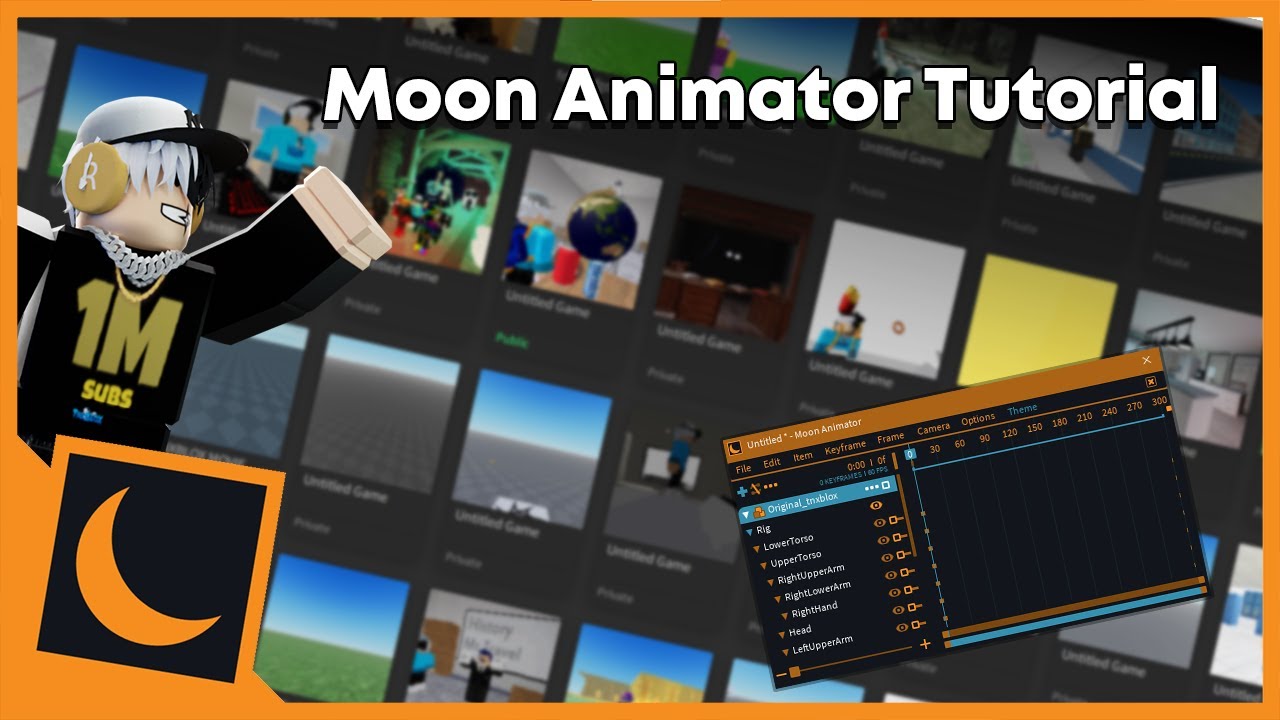
How To Create Tools And Animate Them TUTORIAL Community Tutorials . UGC Animation Validator Plugin FREE Community Resources . Video References Moon Animator Addon Outdated Community Resources . Unlocking Roblox Animation Power With Moon Animator Up To Date 2026 Hqdefault . How To Use The Animation Editor In Roblox Studio YouTube
#5 Gallery animator plugin roblox
1 7 3 Cascade UI Animator Create Reusable UI Animations Page 2 . How To Get Roblox Studios H Ng D N Chi Ti T T A N Z . Temmies Instance Animator Animate ANYTHING At Ease Community . PLUGIN Animation Tools A Super Animation Toolkit Community 2 1035x631 . Roblox Animation Editor
#6 Gallery animator plugin roblox


Unlocking Roblox Animation Power With Moon Animator Up To Date 2026 . Animation Test 1 Roblox Studio 2026 Moon Animator YouTube . Unlocking Roblox Animation Power With Moon Animator Up To Date 2026 . Unlocking Roblox Animation Power With Moon Animator Up To Date 2026 SL1500 . Unlocking Roblox Animation Power With Moon Animator Up To Date 2026 Maxres2
#7 Gallery animator plugin roblox


How To Create A Plugin In Roblox Studio 2022 Quick Easy Ways How To Create A Plugin In Roblox Studio 6 . How Do I Get The Animationid Platform Usage Support Developer Forum 2 1024x490 . Roblox Studio Download Moon Animator 2 For Free 2024 Outdated New . Animations Blender To Roblox Made Easy . PLUGIN Animation Tools A Super Animation Toolkit Community 2 690x421